Infographic · · 5 min read
The Queen Catcher Tool: Precision Handling Explained
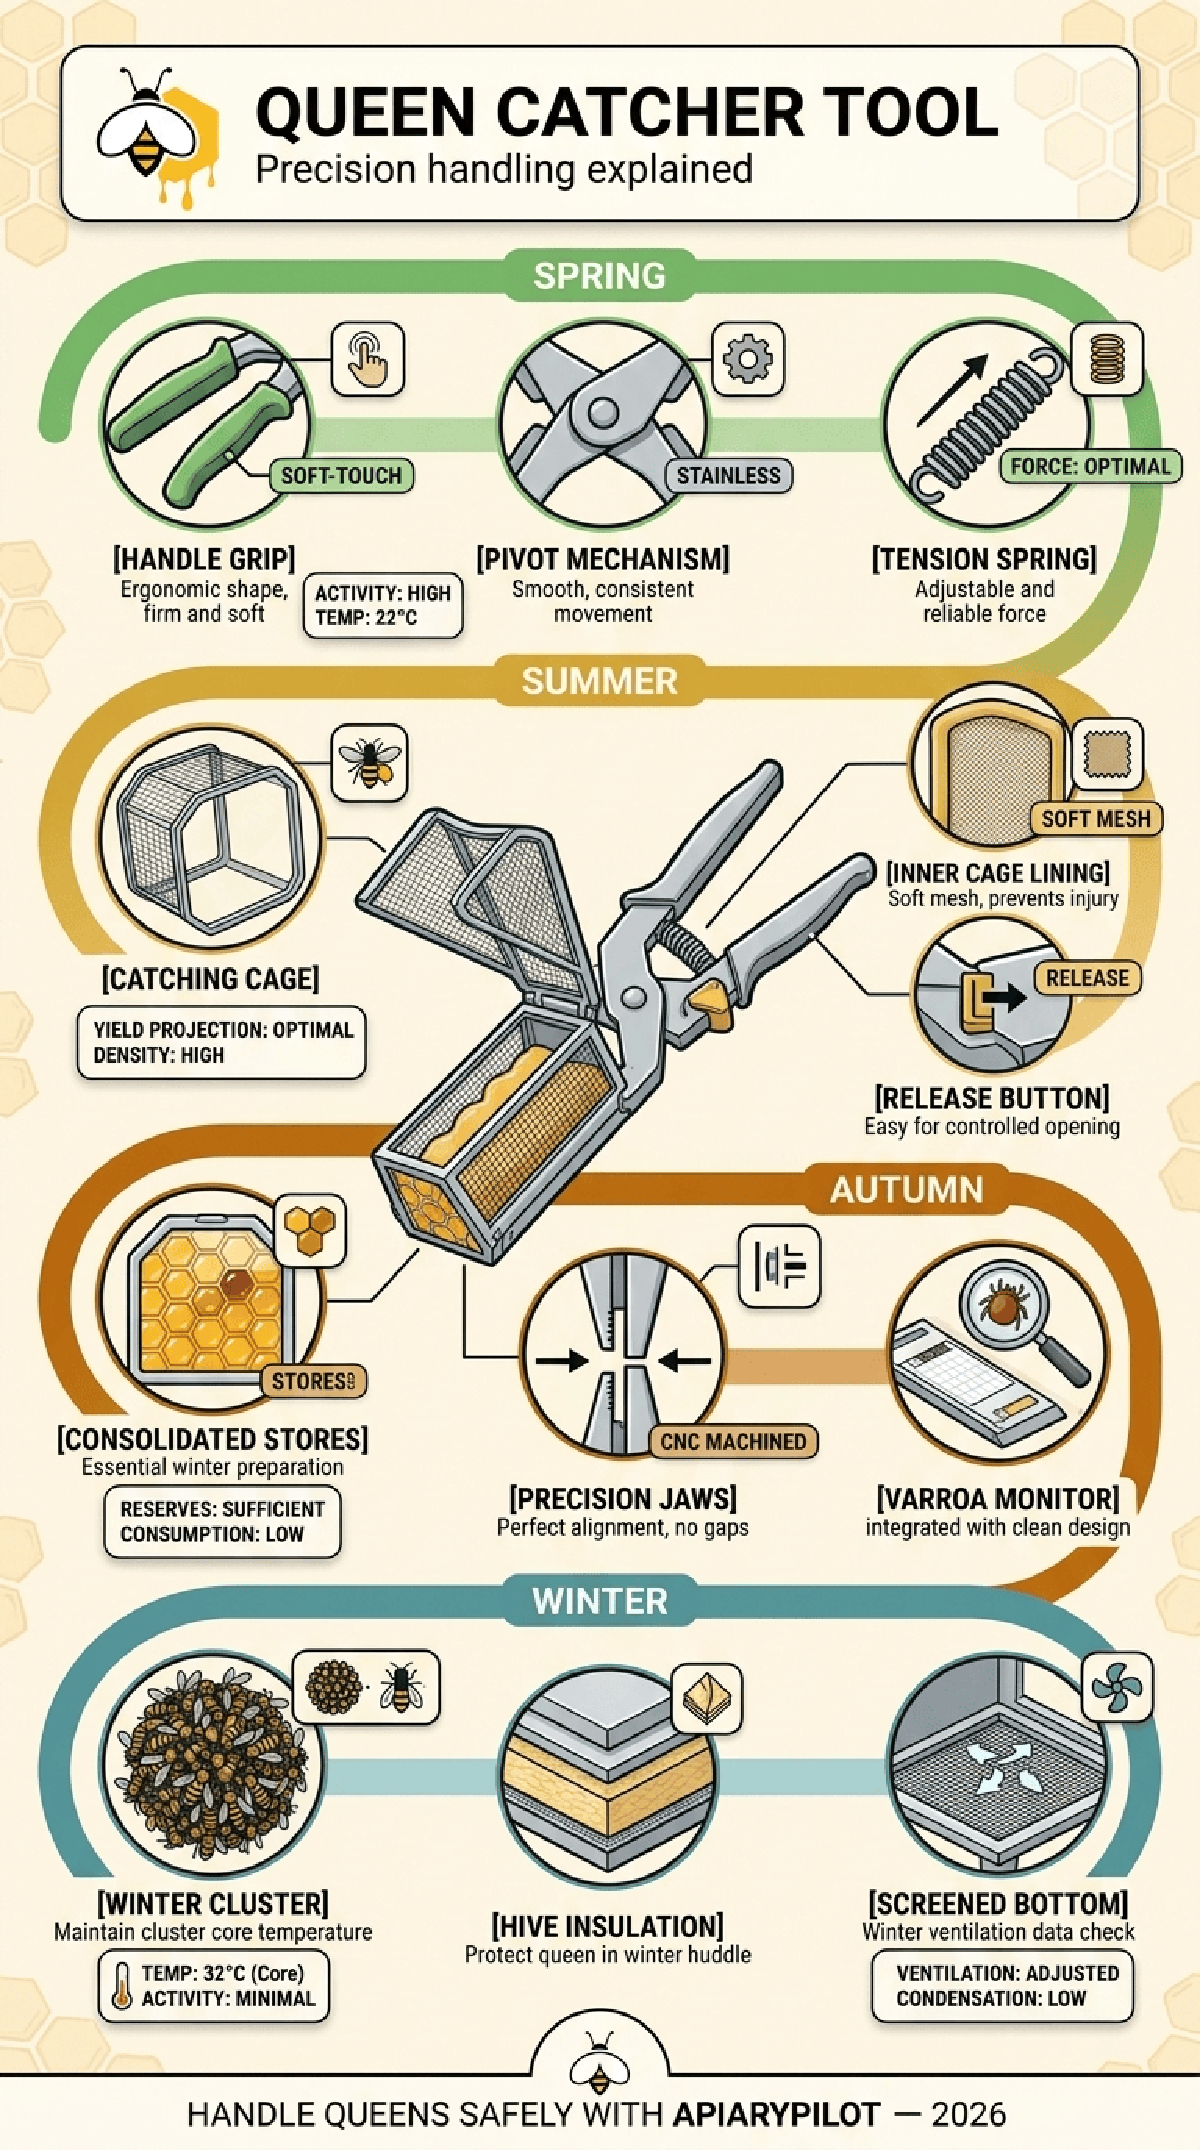
An illustrated breakdown of the queen catcher — grip, pivot, tension spring, cage, mesh lining and release button — plus when to use it across the season without harming the queen.
Handling a queen is the moment where confidence matters most. A queen catcher — sometimes called a queen clip or queen-catching plier — lets you isolate her safely for marking, caging, or moving to a nucleus without pinning her against comb with your fingers. This infographic breaks the tool down part by part and shows where it fits into the beekeeping year.
Why Use a Catcher at All?
Bare-handed queen handling works for experienced beekeepers with steady hands, but it carries real risk: crushed abdomens, damaged legs, and superseded queens weeks later. A catcher creates a controlled space with soft contact surfaces, giving you time to work without pressure.
The Anatomy of the Tool
Handle Grip
An ergonomic handle that is firm but soft matters more than it sounds. You often operate the tool one-handed while holding a frame in the other, sometimes with gloves on. A slippery or overly stiff grip translates directly into jerky movements near a queen.
Pivot Mechanism
The pivot should move smoothly and consistently, with no play and no sudden snap. Stainless steel pivots resist propolis build-up and can be cleaned with hot water and soda between apiaries — important for disease hygiene.
Tension Spring
The spring sets the closing force. Too weak and the cage drifts open; too strong and it slams. Adjustable tension is worth paying for: you want the jaws to close under their own weight but stop softly.
Catching Cage
The cage is the working volume. It should be large enough that the queen can stand naturally and small enough that she cannot turn and walk out during transfer. Mesh sizing must exclude drones but allow workers through if you plan to keep attendants with her.
Inner Cage Lining
A soft mesh lining prevents leg and wing injury when the cage closes. Hard metal edges are the usual culprit behind queens that limp after handling.
Release Button
A controlled release matters as much as the catch. You want to place the queen exactly where you intend — back on the frame, into an introduction cage, or into a nucleus — without a sudden opening that lets her fly.
Precision Jaws
CNC-machined jaws that align perfectly with no gaps are the single biggest difference between a cheap catcher and a good one. Gaps pinch legs; misalignment lets her escape at the worst moment.
Using the Catcher Through the Season
Spring
Spring is prime queen-handling season: marking new queens, assessing laying performance, and preparing splits. Warm, calm days above roughly 15 °C keep the colony settled while you work.
Summer
During swarm season and queen rearing, the catcher earns its keep — isolating queens for splits, caging them during artificial swarm procedures, and moving them into mating nucs.
Autumn
Autumn handling is mostly assessment: confirming the queen is present and laying before winter, and requeening failing colonies early enough that the new queen can build winter bees.
Winter
Do not open a wintering cluster to find the queen. Winter is for planning, cleaning, and checking your tools — inspect the pivot, spring, and mesh so everything is ready for the first spring inspection.
Handling Rules That Prevent Damage
- Work over the open hive so a dropped queen falls onto her own frames.
- Never catch a queen that is running fast — wait until she settles.
- Close slowly and check for trapped legs before lifting.
- Limit total handling time to under a minute where possible.
- Clean the tool between colonies to avoid transferring pathogens.
Record Every Queen Event
Marking colour, catch date, requeening, and any observed damage all belong in the hive record. In ApiaryPilot you can log queen events per hive, so a supersedure three weeks after handling is traceable back to the day it started — and you learn from it instead of guessing.
Using this infographic
Keep it beside your inspection journal, print it for your club, or pin it in the honey room. Record the matching observations, treatments and follow-up tasks for each hive in ApiaryPilot.


